This site is from a past semester! The current version will be here when the new semester starts.
CS2113/T 2020 Jan-Apr
  • Full Timeline
  • Week 1 [from Mon Jan 13]
  • Week 2 [from Wed Jan 15 noon]
  • Week 3 [from Wed Jan 22 noon]
  • Week 4 [from Wed Jan 29 noon]
  • Week 5 [from Wed Feb 5 noon]
  • Week 6 [from Wed Feb 12 noon]
  • Week 7 [from Wed Feb 19 noon]
  • Week 8 [from Wed Mar 4 noon]
  • Week 9 [from Wed Mar 11 noon]
  • Week 10 [from Wed Mar 18 noon]
  • Week 11 [from Wed Mar 25 noon]
  • Week 12 [from Wed Apr 1 noon]
  • Week 13 [from Wed Apr 8 noon]
  • Textbook
  • Admin Info
  • Report Bugs
  • Forum
  • Instructors
  • Announcements
  • File Submissions
  • Tutorial Schedule
  • repl.it link
  • Java Coding Standard
  • Forum Activities Dashboard
  • Participation Dashboard

  •  Individual Project (iP):
  • Individual Project Info
  • Duke Upstream Repo
  • iP Code Dashboard
  • iP Progress Dashboard

  •  Team Project (tP):
  • Team Project Info
  • Team List
  • tP Code Dashboard
  • tP Progress Dashboard
  • Week 5 [from Wed Feb 5 noon] - Project

    iP:

    1. Add Increment as a branch: Level-5
    2. Add Increment: A-Packages

    tP:

    1. Brainstorm user stories before the tutorial
    2. Choose user stories for v1.0 during the tutorial

    iP

    1 Add Increment as a branch: Level-5

    • Use git branches in your work, as explained below:
      • Do the increment Level-5 as a separate branch named branch-Level-5. You are recommended to have multiple commits in that branch.
      • After the increment is ready, merge the branch-Level-5 back on to master, without a fast-forward so that git creates a separate commit for the merge. git tag that merge commit as Level-5.
      • Push the branch to your fork so that the bot can detect it. As before, push the tag as well.
      • Advanced git users: do not delete the branch after merging.
    Level-5: Handle Errors

    Level 5. Handle Errors

    Teach Duke to deal with errors such as incorrect inputs entered by the user.

    Example:

    todo
    ____________________________________________________________
    ☹ OOPS!!! The description of a todo cannot be empty.
    ____________________________________________________________

    blah
    ____________________________________________________________
    ☹ OOPS!!! I'm sorry, but I don't know what that means :-(
    ____________________________________________________________

    When implementing this feature, you are also recommended to implement the following extension:

    A-Exceptions

         Use Exceptions to handle errors

    Use exceptions to handle errors. For example, define a class DukeException to represent exceptions specific to Duke.

    • Minimal: handle at least the two types of errors shown in the example above.
    • Stretch goal: handle all possible errors in the current version. As you evolve Duke, continue to handle errors related to the new features added.

    2 Add Increment: A-Packages

    • Recommended: if you are new to git, do this as a separate branch too (for additional practice), similar to how you did Level-5 (branch name branch-A-Packages).
    A-Packages: Organize into Packages optional

    A-Packages

         Divide classes into packages

    Organize the classes into suitable java packages.

    • Minimal: put all classes in one package e.g., duke
    • Stretch goal: divide into multiple packages as the number of classes increase e.g., duke.task, duke.command


    tP: User Stories

    1 Brainstorm user stories before the tutorial

    • Get together with your team members and brainstorm for user stories  for the the product.
      • At this stage, aim to have more user stories than you can deliver in the project. Aim to create at least 30 user stories. Include all 'obvious' ones you can think of but also look for 'non obvious' ones that you think are likely to be missed by other teams.
      • Refer [Textbook Specifying Requirements → UserStories → Usage → (section) Tips] for tips on how to use user stories in this task.
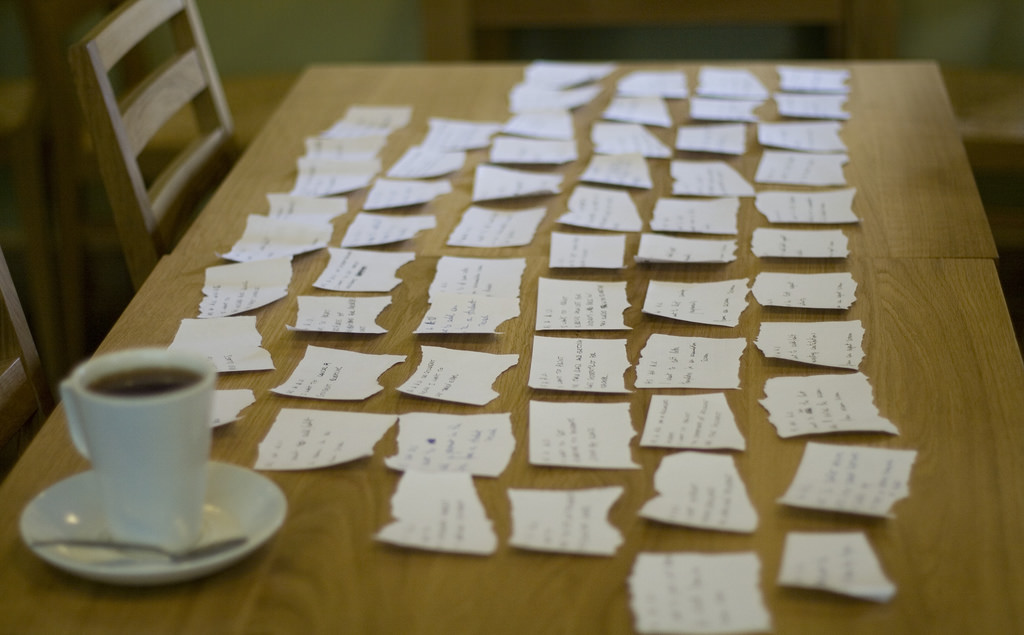
      • You can write each user story in a piece of paper (e.g. yellow sticky note, index card, or just pieces of paper about the size of a playing card). Alternatively you can use an online tool (some examples given in [Textbook Specifying Requirements → UserStories → Usage → (panel) Tool Examples ]).
      • Note that you should not 'evaluate' the value of user stories while doing the above. Reason: an important aspect of brainstorming is not judging the ideas generated.
     

    Requirements → Gathering Requirements →

    Brainstorming

    Brainstorming: A group activity designed to generate a large number of diverse and creative ideas for the solution of a problem.

    In a brainstorming session there are no "bad" ideas. The aim is to generate ideas; not to validate them. Brainstorming encourages you to "think outside the box" and put "crazy" ideas on the table without fear of rejection.

    What is the key characteristic about brainstorming?

    (b)


    Requirements → Specifying Requirements → User Stories →

    Introduction

    User story: User stories are short, simple descriptions of a feature told from the perspective of the person who desires the new capability, usually a user or customer of the system. [Mike Cohn]

    A common format for writing user stories is:

    User story format: As a {user type/role} I can {function} so that {benefit}

    Examples (from a Learning Management System):

    1. As a student, I can download files uploaded by lecturers, so that I can get my own copy of the files
    2. As a lecturer, I can create discussion forums, so that students can discuss things online
    3. As a tutor, I can print attendance sheets, so that I can take attendance during the class

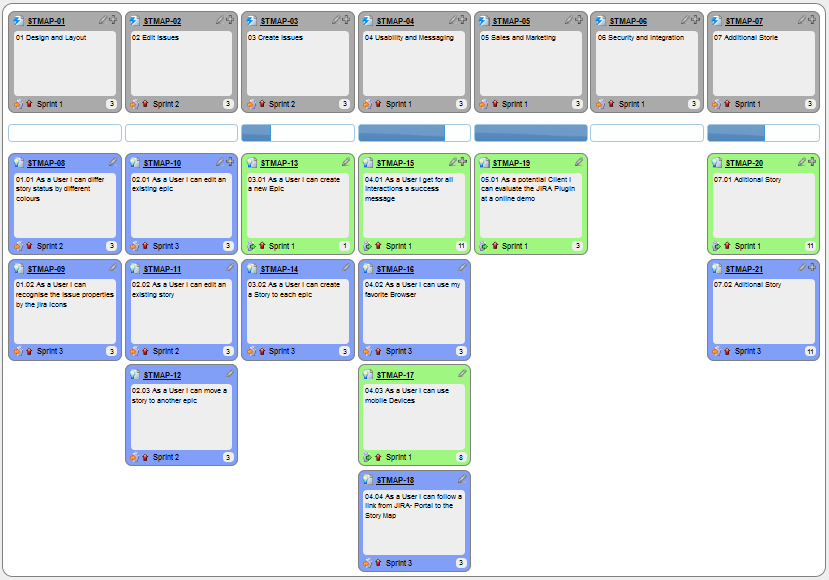
    You can write user stories on index cards or sticky notes, and arrange on walls or tables, to facilitate planning and discussion. Alternatively, you can use a software (e.g., GitHub Project Boards, Trello, Google Docs, ...) to manage user stories digitally.

    [credit: https://www.flickr.com/photos/jakuza/2682466984/]

    [credit: https://www.flickr.com/photos/jakuza/with/2726048607/]

    [credit: https://commons.wikimedia.org/wiki/File:User_Story_Map_in_Action.png]

    • a. They are based on stories users tell about similar systems
    • b. They are written from the user/customer perspective
    • c. They are always written in some physical medium such as index cards or sticky notes
    • a. Reason: Despite the name, user stories are not related to 'stories' about the software.
    • b.
    • c. Reason: It is possible to use software to record user stories. When the team members are not co-located this may be the only option.

    Critique the following user story taken from a software project to build an e-commerce website.

    As a developer, I want to use Python to implement the software, so that we can resue existing Python modules.

    Refer to the definition of a user story.

    User story: User stories are short, simple descriptions of a feature told from the perspective of the person who desires the new capability, usually a user or customer of the system. [Mike Cohn]

    This user story is not written from the perspective of the user/customer.

    Bill wants you to build a Human Resource Management (HRM) system. He mentions that the system will help employees to view their own The number of leave days not yet takenleave balance. What are the user stories you can extract from that statement?

    Remember to follow the correct format when writing user stories.

    User story format: As a {user type/role} I can {function} so that {benefit}

    As an employee, I can view my leave balance, so that I can know how many leave days I have left.

    Note: the {benefit} part may vary as it is not specifically mentioned in the question.
     

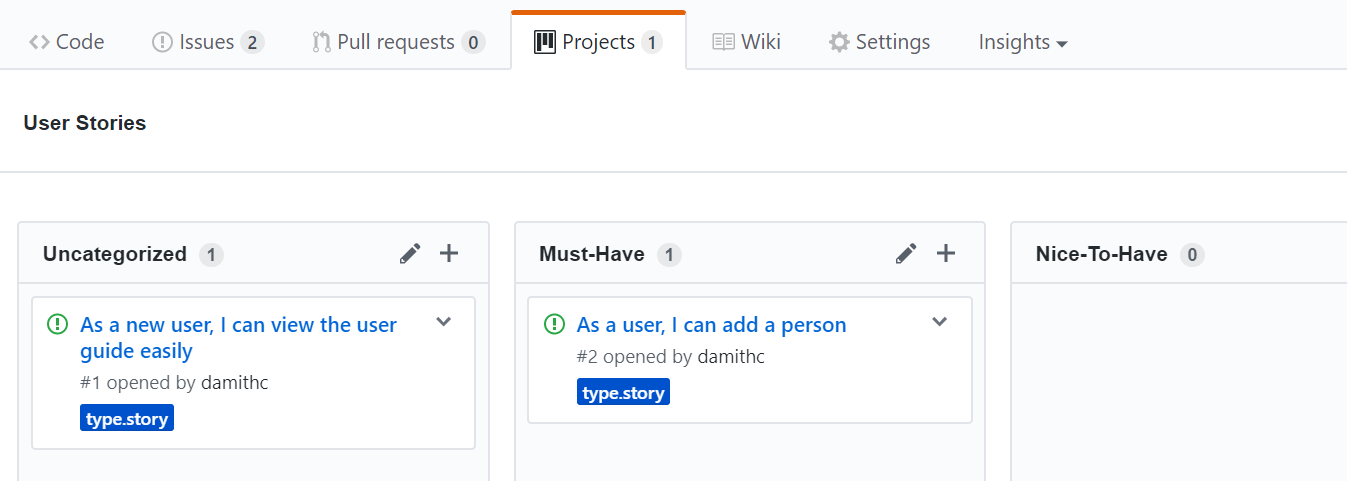
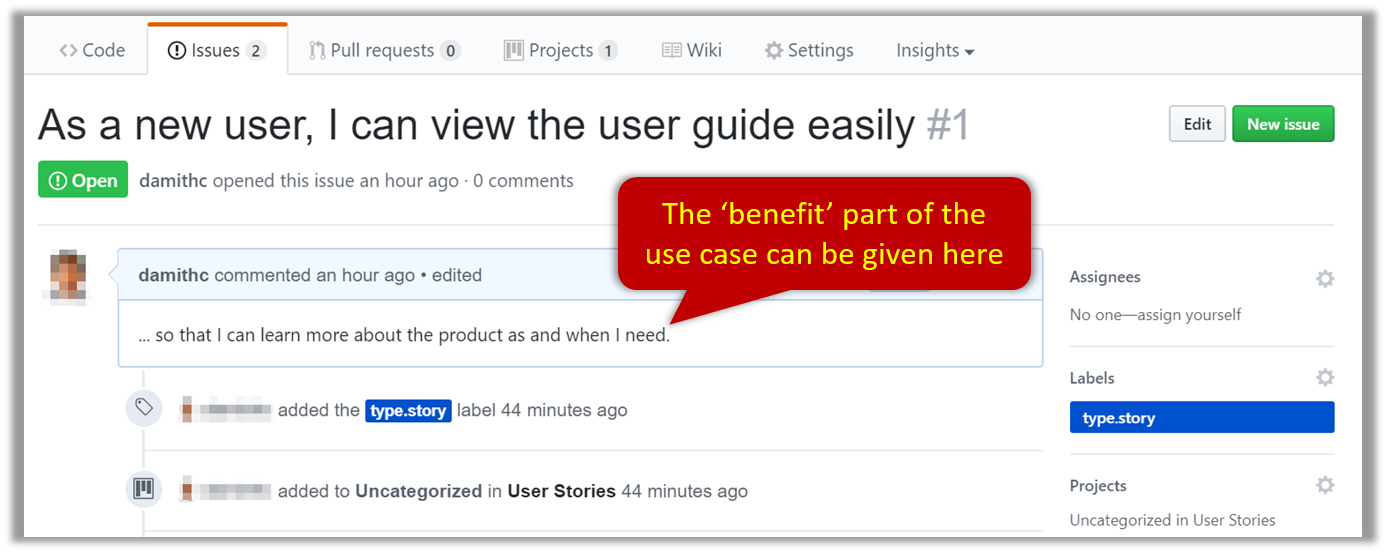
    You can create issues for each of the user stories and use a GitHub Project Board to sort them into categories.

    Example Project Board:

    Example Issue to represent a user story:

    A video on GitHub Project Boards:

    Example Google Sheet for recording user stories:

    Example Trello Board for recording user stories:


    Given their lightweight nature, user stories are quite handy for recording requirements during early stages of requirements gathering.

    Here are some tips for using user stories for early stages of requirement gathering:

    • Define the target user:
      Decide your target user's profile (e.g. a student, office worker, programmer, sales person) and work patterns (e.g. Does he work in groups or alone? Does he share his computer with others?). A clear understanding of the target user will help when deciding the importance of a user story. You can even give this user a name. e.g. Target user Jean is a university student studying in a non-IT field. She interacts with a lot of people due to her involvement in university clubs/societies. ...
    • Define the problem scope: Decide that exact problem you are going to solve for the target user. e.g. Help Jean keep track of all her school contacts
    • Don't be too hasty to discard 'unusual' user stories:
      Those might make your product unique and stand out from the rest, at least for the target users.
    • Don't go into too much details:
      For example, consider this user story: As a user, I want to see a list of tasks that needs my attention most at the present time, so that I pay attention to them first.
      When discussing this user story, don't worry about what tasks should be considered needs my attention most at the present time. Those details can be worked out later.
    • Don't be biased by preconceived product ideas:
      When you are at the stage of identifying user needs, clear your mind of ideas you have about what your end product will look like.
    • Don't discuss implementation details or whether you are actually going to implement it:
      When gathering requirements, your decision is whether the user's need is important enough for you to want to fulfil it. Implementation details can be discussed later. If a user story turns out to be too difficult to implement later, you can always omit it from the implementation plan.
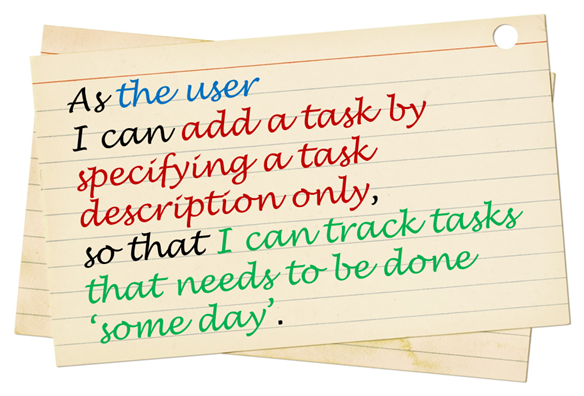
    • As a user I can add a task by specifying a task description only, so that I can record tasks that need to be done ‘some day’.
    • As a user I can find upcoming tasks, so that I can decide what needs to be done soon.
    • As a user I can delete a task, so that I can get rid of tasks that I no longer care to track.
    • As a new user I can view more information about a particular command, so that I can learn how to use various commands.
    • As an advanced user I can use shorter versions of a command, so that type a command faster.

    2 Choose user stories for v1.0 during the tutorial

    The goal of this activity is to come up with the smallest possible product that is still usable so that it can be implemented as v1.0. We try to make it small because you will have only two weeks to implement v1.0 and coding as a team is a lot harder than writing code alone.

    • If the product can be of some use without a given user story, that user story should be left out of v1.0, even if the omission makes the product hard to use, as long as the product is not impossible to use e.g., in most cases a product can be used without an 'edit item' feature because the user can always delete an item and add a new item instead of editing an existing an item.
    • Don't worry about v2.0. You can design v2.0 after v1.0 done.
    • Don't worry about v1.0 being 'too small'. You can always add more features to v1.0 if you finish it ahead of schedule.
    • If possible, narrow the scope of v1.0 further e.g., narrower target user, a smaller value proposition

    Suggested workflow:

    • First stage [10 minutes]:
      • Divide the user stories among team members.
      • Each member will go through their user stories to discard (e.g., cross out, or move to a different location, but not delete) which are definitely not needed for v1.0.
    • Second stage [10 minutes]:
      • All members discuss the remaining user stories (i.e., the ones not discarded in the first stage), and try to trim the list further.